Lithos is the Greek word for stone and grafien stands for “to write” or “to draw.” Much of which is called lithography today is not drawn on stone. Today new materials such as sheet-metal, plastic-sheeting or glass are used.
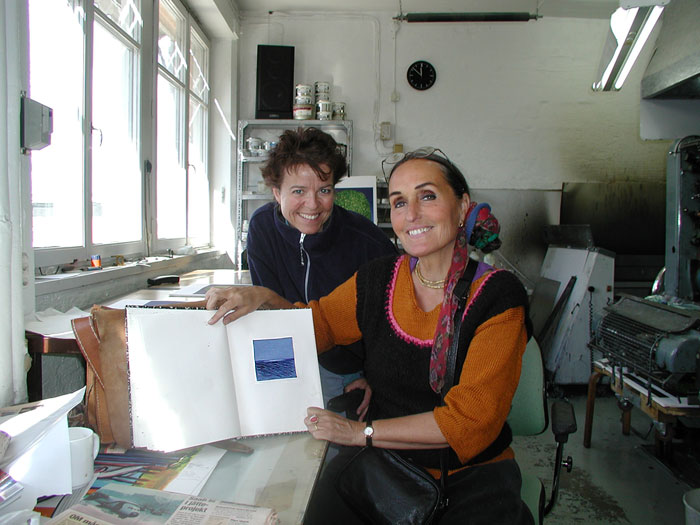
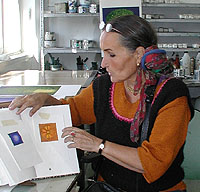
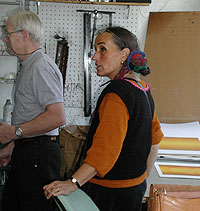
Maria Hillfon shows her coloured sketch serving as the model for the lithograph.
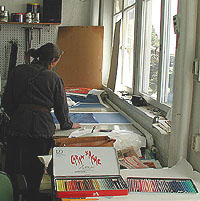
We followed the artist Maria Hillfon in the process of making a lithograph at Lindström´s printing-works in Solna (year 2000). The pictures below show how Maria Hillfon makes one of her lithographs of a horizon. The first three pictures below show the stages of printing to reach the final result. At a glance this looks easy but demands much preparation, precision and patience as well as a very good collaboration between the artist and the printer.
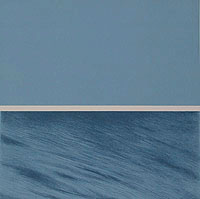
The result after the first stage of printing, consisting of two thin layers.
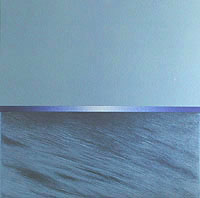
The result after the second stage of printing.
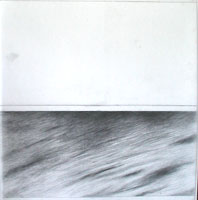
The final result after the third stage of printing.
Before Maria Hillfon begins the lithograph process she has worked out a coloured sketch and the separate drawings on plastic sheets for each separate printing stage. Each colour demands an original, separate drawing on a plastic sheet.
Pencil drawing/wash on a plastic sheet.
The artist makes a pencil drawing/wash on a plastic sheet. Maria prefers plastic sheets because they are lightweight and easy to transport.
The result after the second stage of printing. The original drawing is reversed in the final result.
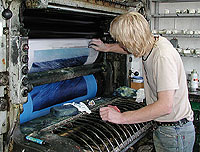
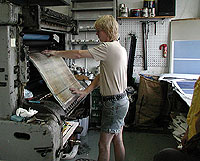
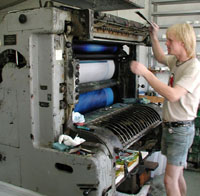
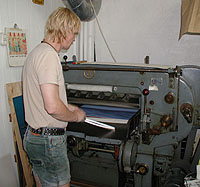
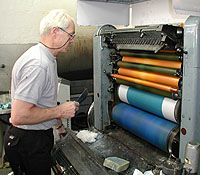
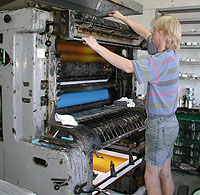
Lasse Lindström is in the middle of printing the second stage.
Second stage of printing.
At the printing-works, Lasse Lindström is in the middle of printing the second stage. After the second stage one stage remains, the horizon line and moonbeam reflection.
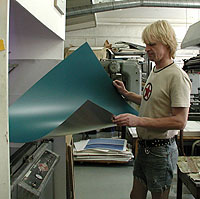
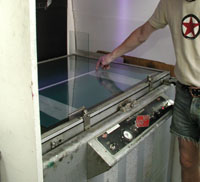
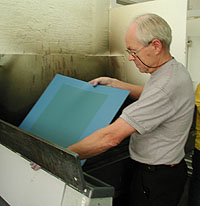
Putting the aluminium sheet in place.
The artists´s original is placed upon the aluminium sheet.
Before each stage, the artist´s original must be transferred to a sheet of aluminium. This sheet has a light-sensitive and oily surface layer. The artist´s original is placed upon the aluminium sheet and is illuminated by UV-light.
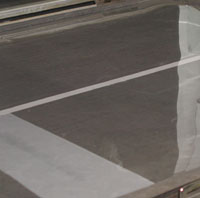
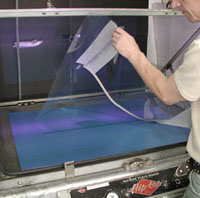
The Aluminum sheet is ready for being illuminated by UV-light.
The parts covered by the pencil-drawing will protect the aluminium sheet´s oily surface layer. The other parts will be removed by the UV-light.
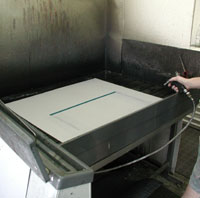
The artist´s drawing is then transferred in reverse to the aluminium sheet. Here you can notice a green horizontal line.
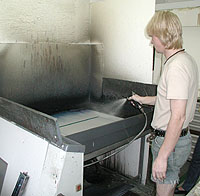
After the illumination process the aluminium sheet will be rinsed off.
Now the sheet is ready for the third stage, the dark blue horizontal line.
When the aluminium sheet is covered in oily paint in the printing press, the green oily parts will absorb the paint that later on will be transferred to the lithographic paper. The other water-moistered parts of the aluminium sheet will repel the oily paint.
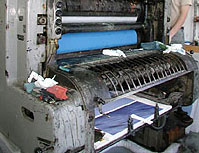
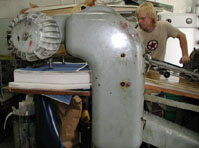
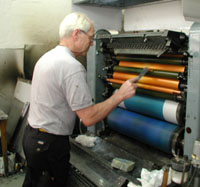
The aluminium sheet is mounted in the printing press. Now the third stage of printing can begin.
In order to make the horizon,
Mr. Lindström will apply the dark blue paint only to the outer parts of the cylinder, according to Maria´s directives. The center part will remain white. Look at the final result further below.
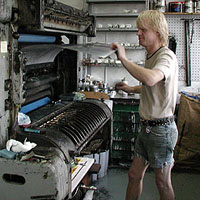
The third stage of printing begins.
The prints are fed into the the printing-press.
Lasse Lindström oversees the process.
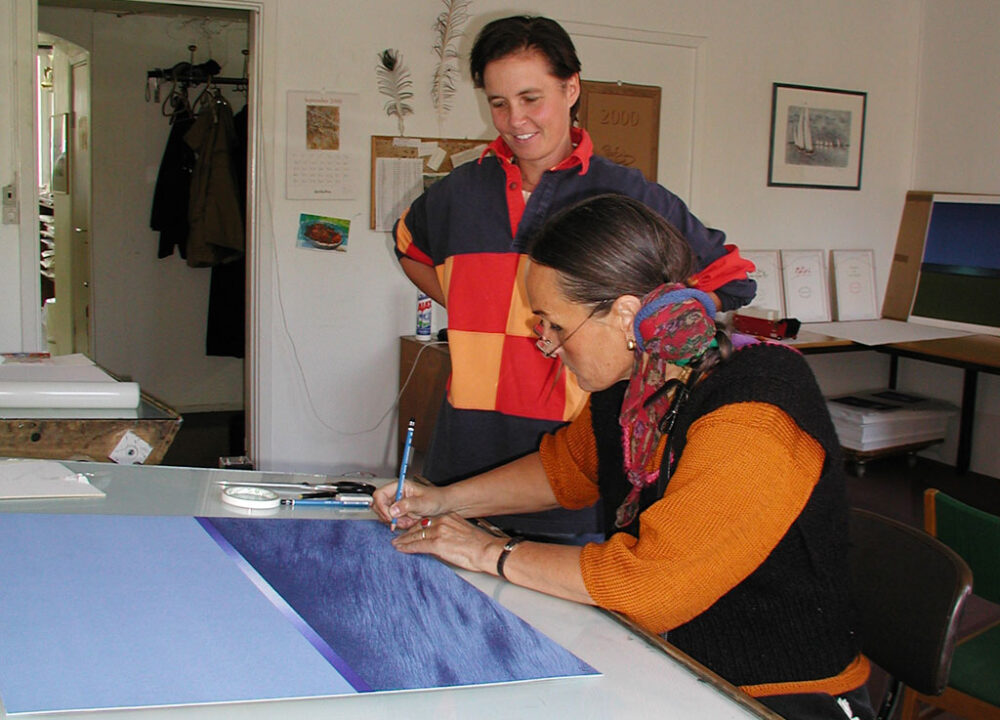
The proof is scrutinized by the artist.
At all stages Maria has to give her final approval and may add to the plastic sheet original and/or alter the colour before printing can begin. The procedure of making a lithograph normally takes one to three weeks depending on how many stages are required.
Finally the lithograph will be cut by the artist´s directives.
The final result after the third stage of printing.
When the edition is printed and approved by the artist, she will sign and number each print individually. Sometimes an EA-edition is made especially for the artist´s personal use. The EA-edition is numbered separately and should not exceed 10% of the original edition. Normally the printing-works stamp is embossed on the lithograph.
Maria Maria Hillfon is signing each individual print.
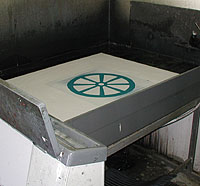
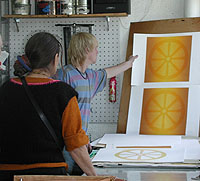
We also followed Maria Hillfon making her lithograph, “The Wheel“. Below you can follow the printing process that made “The Wheel“.
Maria shows her coloured sketch serving as the model for the lithograph The Wheel.
The lithograph The Wheel – final result.
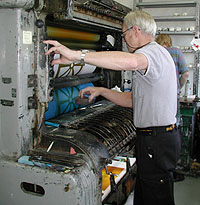
Mr. Jansson in the process of developing of an aluminium sheet (the background of “The Wheel”).
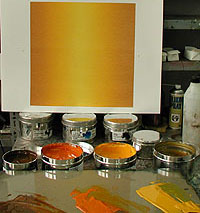
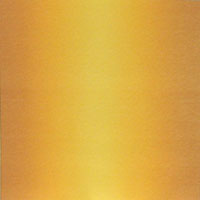
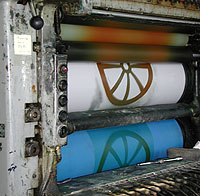
Printing of the ochre yellow background colour.
Skill is needed in order to achieve a beautiful colour shade and colour gradation.
The colors that give a beautiful hue.
Mr. Lindström oversees the process.
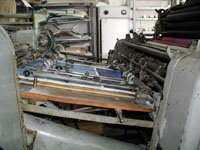
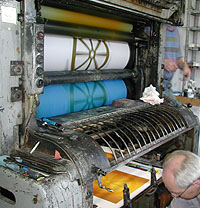
Ready for the next stage of printing.
Before the printing process can continue, the colour is approved by the artist.
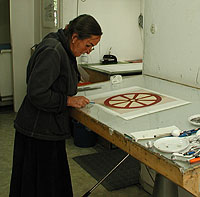
Maria Hillfon is making a final adjustment to the plastic sheet original before the picture is transferred to the aluminium sheet by UV-light.
The next aluminium sheet is developed and ready to mount in the printing press.