For three lovely summer days in 2013, we went to theGG Print Studioin Uttersberg, Sweden, to study how the artist Lars Nyberg made a drypoint. Drypoint is a uncomplicated and direct technique. What is needed is a sharp needle, a copper plate, paper and a printing press.
The image is created directly on a metal plate, usually copper, using a tool capable of making lines in the metal. The carved portions in the copper plate are filled with paint, the moistened printing paper is pressed down into the scratches where the paper absorbs the paint.
Welcome to our “journey” in explaining how the work of creating a drypoint goes.
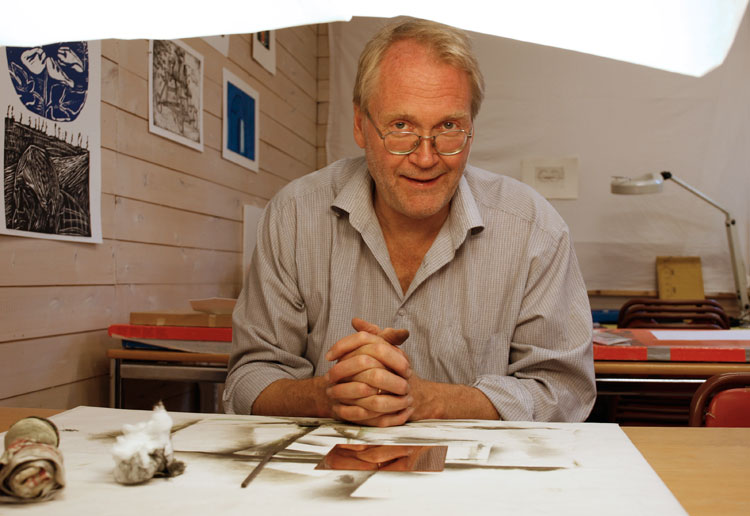
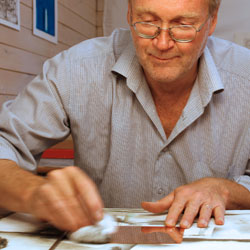
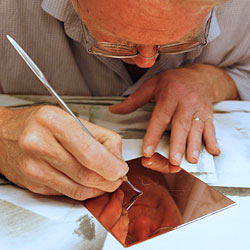
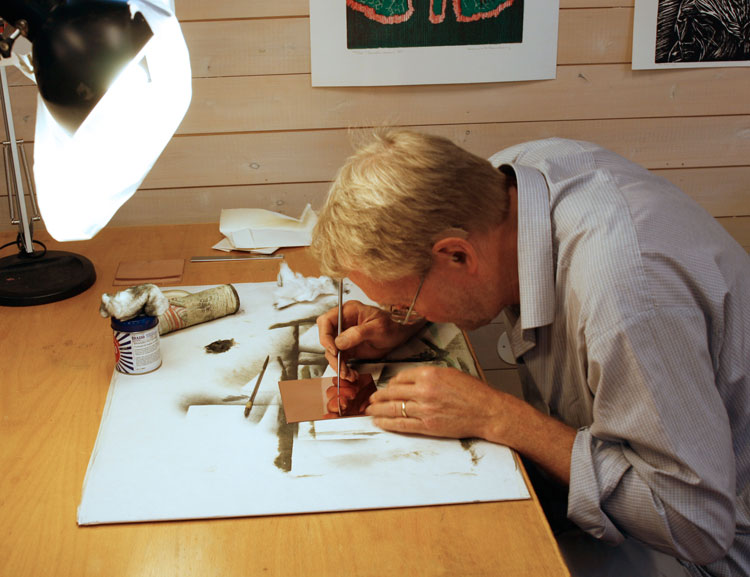
Lars Nyberg in his studio.
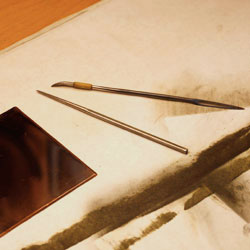
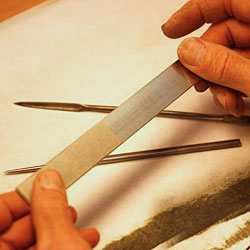
Tools and copper plate
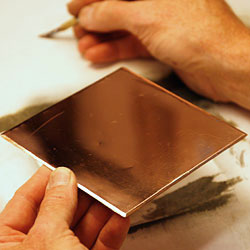
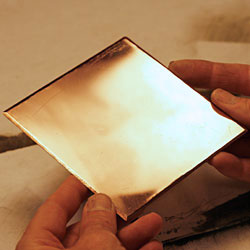
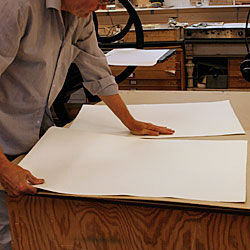
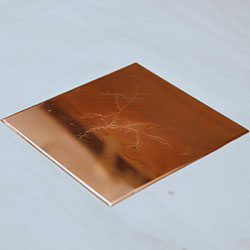
The copper plate is prepared in the preferred size.
The copper plate together with the two tools needed. To the left is a steel needle and to the right a combined scraper and burnisher – see the different ends of the right tool. The burnisher is a gently curved steel blade.
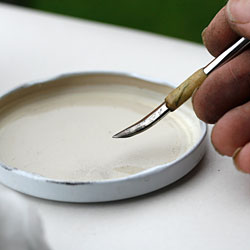
A sharpener is used to sharpen the steel needle.
Preparation of the copper plate
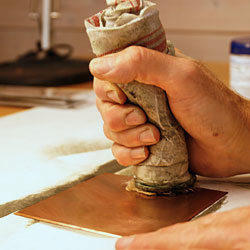
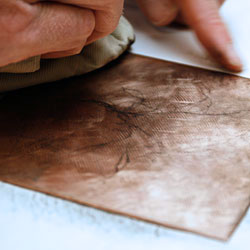
The copper plate is polished.
By making the plate shiny, you can see the smallest and thinnest lines that Lars draws, or as Lars puts it – “There are always small scratches in the copperplate that appear when polishing and sometimes they can be very useful.”
The copper plate´s edges are filed to get the edges smooth so it does not damage the printing paper and the copper printing felt during printing.
The copper plate is waiting – a few dm2 can be an ocean of possibilities.
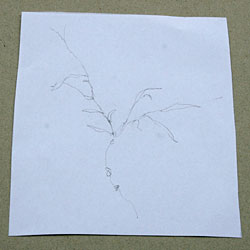
Before the work begins, Lars has made a sketch to create an idea of what he wants the image to look like.
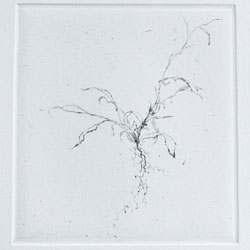
After a period of work, Lars has made his second proof print – the result above. It is now that we come to Lars studio to follow how Lars’ work is progressing.
A work of art is emerging
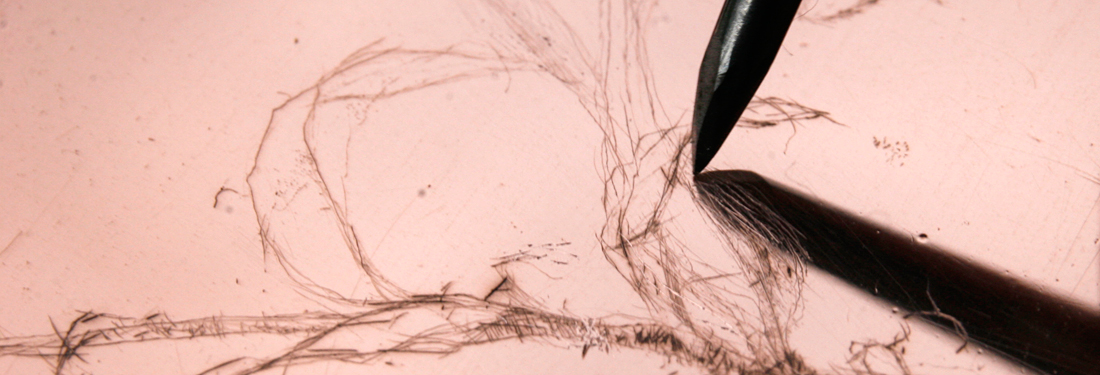
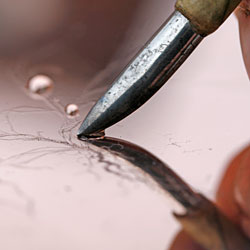
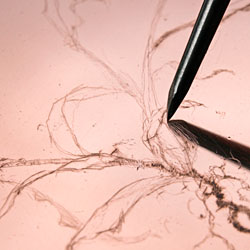
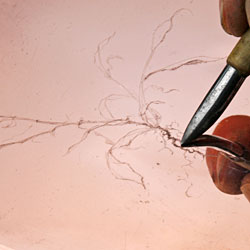
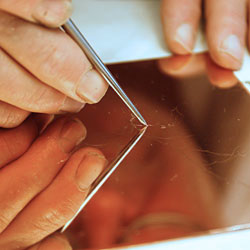
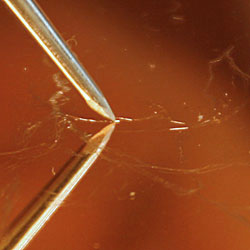
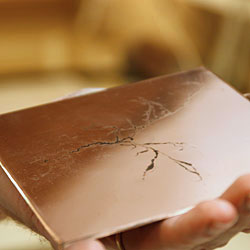
When the tip of the needle engraves in the plate, a groove is formed like a plow furrow that raises a burr. These burrs have an essential meaning for the character of the lines in the drypoint – the burr results in a soft, slightly fuzzy line.
The burnisher is dipped in water. The water makes the meeting between the hard steel and the copper plate softer.
The burnisher is a soft rounded steel and is used together with a drop of water to erase – no scratch is definitive. You can always change, delete or reduce the lines. The copper plate is a living material.
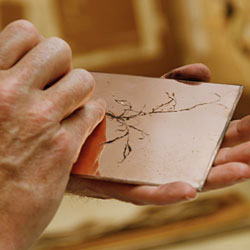
Lars is polishing.
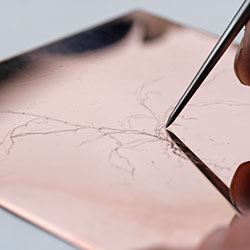
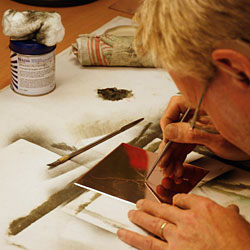
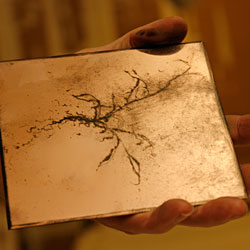
Lars is using the steel needle to draw.
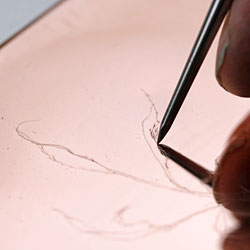
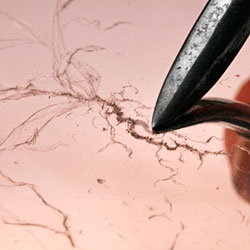
Continued drawing.
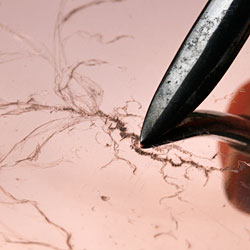
Processing of the copper plate.
Close-up of processing of the copper plate.
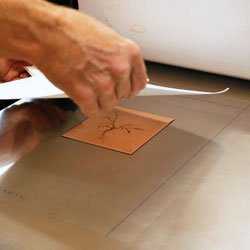
Good light is important for this precision work.
To get an even light and to avoid light reflections in the copper plate, a thin paper is placed in front of the lamp.
Good light is important for Lars’ precise work.
Preparation of the paper before proofing
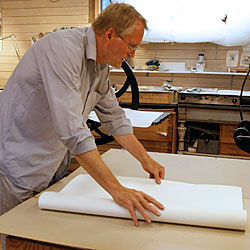
The paper that Lars uses is called Somerset. The paper is made in the UK and consists of 100% cotton and is acid-free.
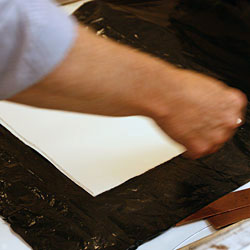
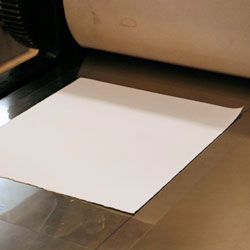
Lars is folding the paper to be torn.
The paper is torn to the correct size.
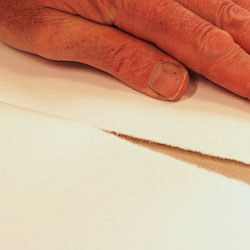
The tearing gives a soft, beautiful edge.
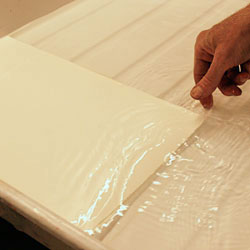
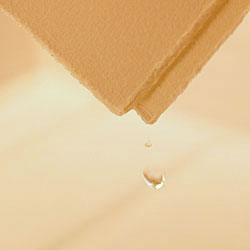
Lars is soaking the pieces of paper.
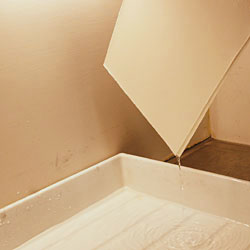
Lars is holding up the stack of paper and lets the water drain off.
Lars calls this the meditative drip method. The drops should fall off the papers at a slow pace – Drip! Drip! Drip! not drip, drip, drip.
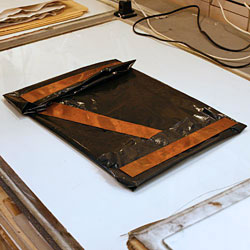
The papers are wrapped in plastic. For a good result, it is important that the paper has the right moisture to increase the papers´ smoothness and suppleness.
Now the package with the papers can be left overnight.
Staining of the copper plate
The copper plate ready for a third proof print.
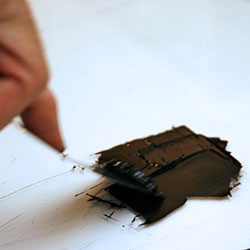
Lars is softening the printing ink.
The copper plate is placed on a hot-plate (approximately 30 degrees Celsius). Then the stiff printing ink becomes softer and it is easier to work the ink into the scratches.
The ink is worked into the copper printing plate with a piece of cloth.
When the copper plate is dyed for printing, the black ink stays both in the groove and on the outside of the grade. When printing this will give a soft slightly fuzzy line, which is a hallmark of this technique.
Continued staining of the copper plate.
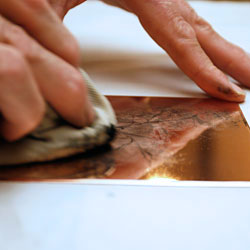
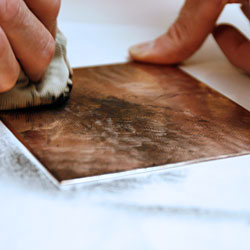
Now there is ink over the whole copper plate but the excess needs to be wiped off.
Wiping is done both with the palm and…
… with fingertip feel. The hand is the finest instrument to vary the wiping.
Wiping with the fingertip.
The surface of the copper plate is wiped and ready for the next proof print.
Finally, Lars is wiping the edge of the copper plate.
The third proof print
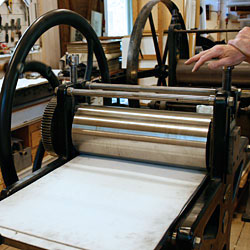
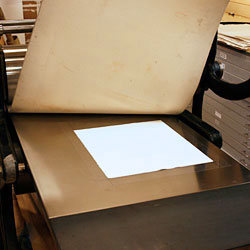
The printing press is being prepared.
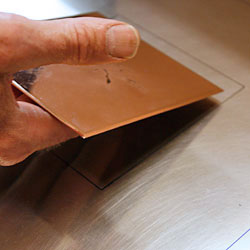
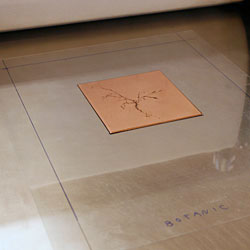
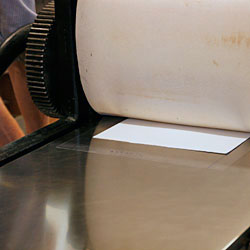
The copper plate is placed at the marking so that the print ends up correctly on the paper.
The copper plate is in place.
Here you can see the outer marking where the paper is to be placed.
The paper is placed on the copper plate.
Ready for printing.
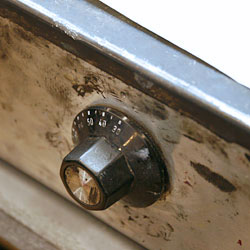
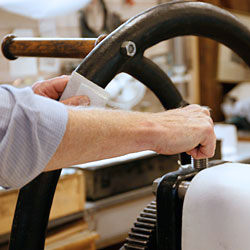
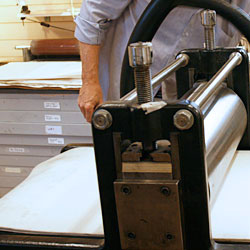
Lars is adjusting the pressure of the printing press.
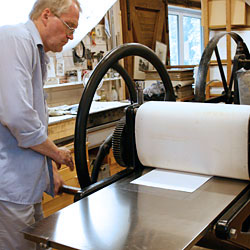
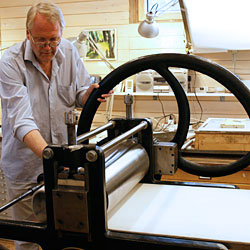
The press is cranked by hand.
The paper and the copper plate disappear under the roller and the press blankets.
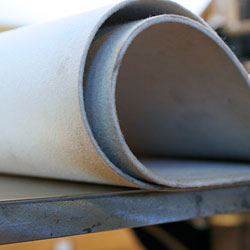
The tightened steel roller presses down the two woolen felters which in turn press down the soft damp copper-plated paper into the scratches where the paper picks up the color – each line thus becomes a small relief in the paper.
Close-up of the two 2.5 mm thick wool felt blankets that are stamped, ie. compressed (not woven).
Printing is complete.
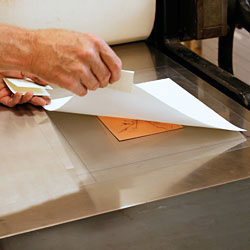
Lars lifts up the two woolen blankets and an exciting moment emerge.
Lars lifts the paper to view…
… the result of the third proof print.
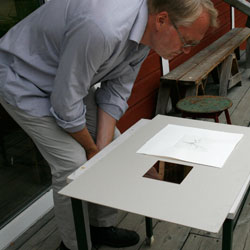
The proof print is scrutinized by Lars.
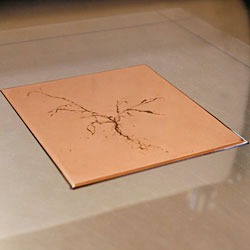
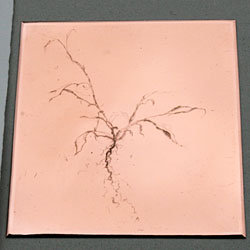
Close-up of the copper plate.
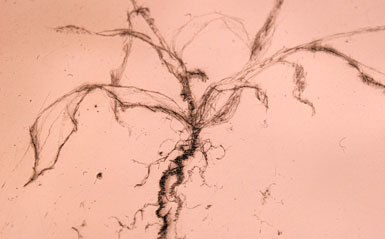
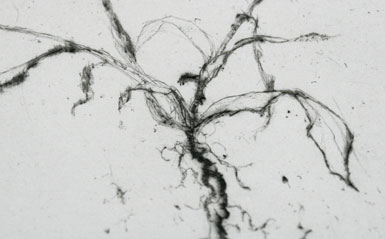
Close-up of the third proof print.
Detailed studies for comparisons between copper plate and print
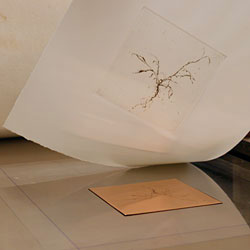
Close-up of the copper plate. Note that the image in the print is reversed compared to the copper plate.
Close-up of the third proof print. Note the fuzzy lines that the ink of the degrees brings.
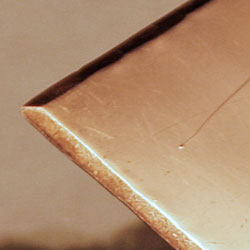
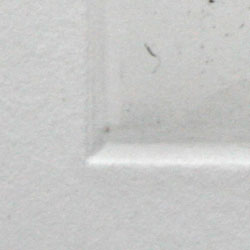
The edge of the copper plate gives a beautiful finishing edge when printed – view the following two pictures.
Close-up of the edge of the copper plate.
Close-up of what the edge looks like in print.
From the first proof print to the end result
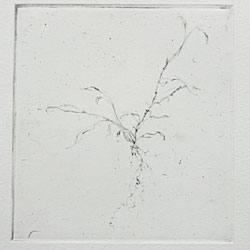
The first proof print.
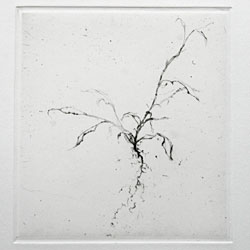
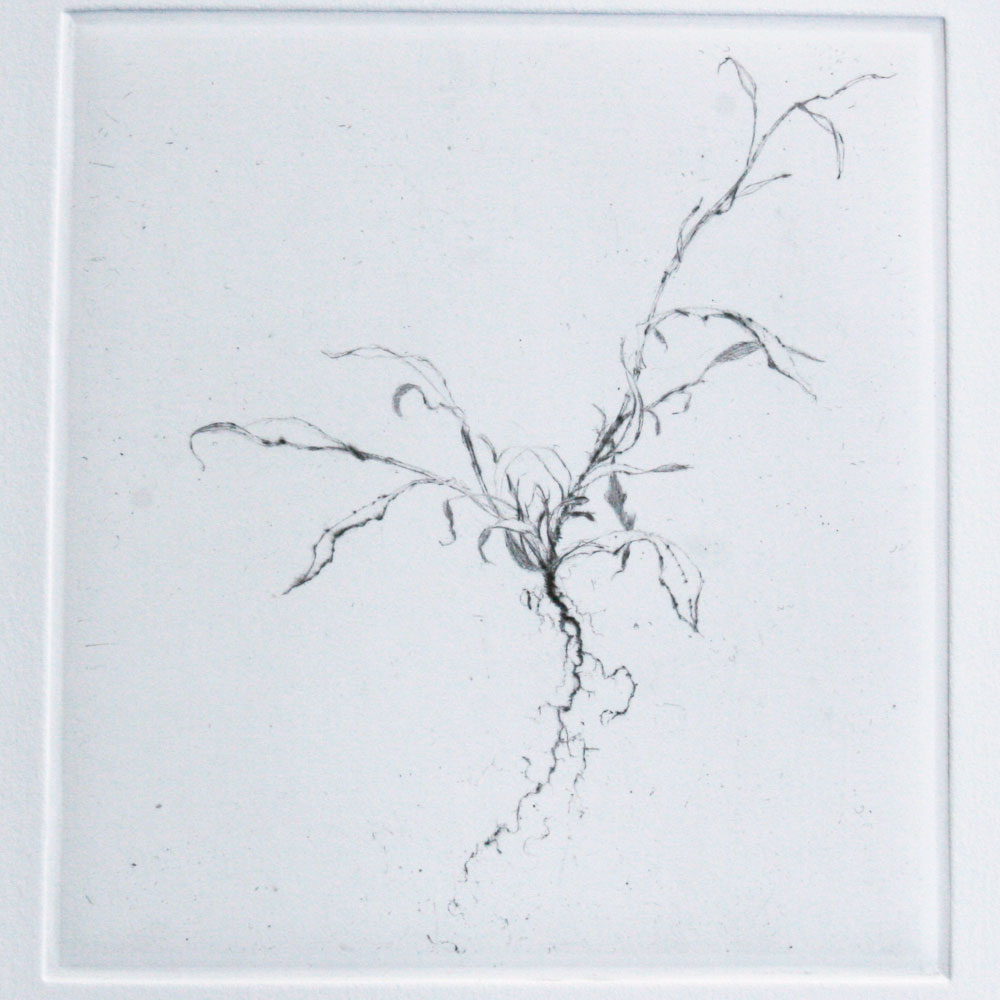
The second proof print.
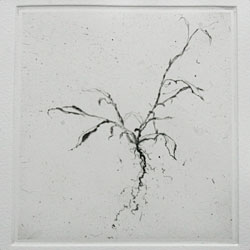
The third proof print.
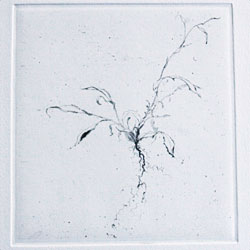
The fourth proof print.
The fifth proof print.
The end result – click on the image to view an enlargement of the drypoint.
Drying the drypoints
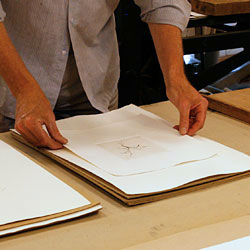
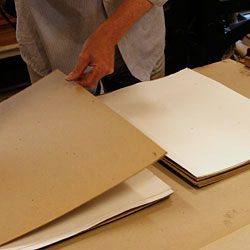
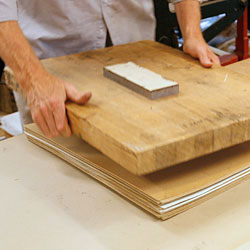
The drypoints are placed between papers …
.. and thick cardboard sheets for drying.
When all the sheets are in place between paper and cardboard, a light weight is placed at the top. The prints are allowed to rest. Cardboard and paper are replaced twice before the drying process is completed.
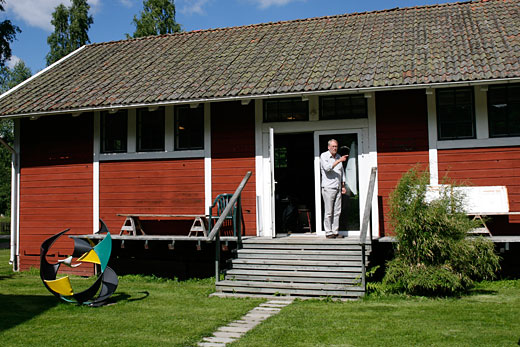
More about the artist Lars Nyberg and the GG Print Studio
Lars Nyberg and Lina Nordenström are responsible for the GG Print Studio. Read more: GG Print Studio