The Process of Making a Silk-Screen Print -Serigraph
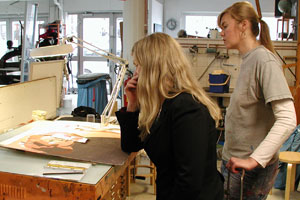
We followed Cecilia Sikström when she made the two silk-screen prints “Marlene” and “Venus” at the print workshop “LITO+SCREEN” in Stockholm. Catarina Kusoffsky is the printer.
Silk-screen printing is an old printing technique. In the art of graphics it is usually called serigraphy. The method is to press the printing paint through a fabric screen. Originally silk was used but today nylon is the most commonly used fabric. Some parts of the fabric will let the paint pass through and other parts will stop the paint from passing through. The paint may also be stopped by specially made stencils.
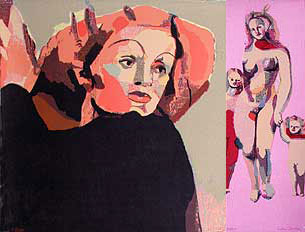
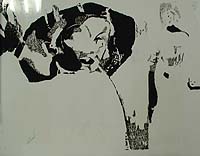
Two silk-screen prints Marlene and Venus by Cecilia Sikström.
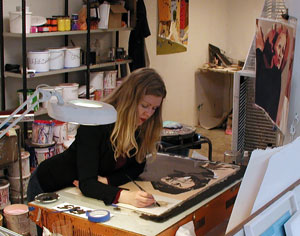
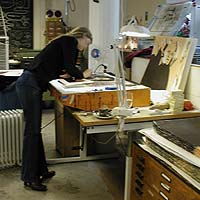
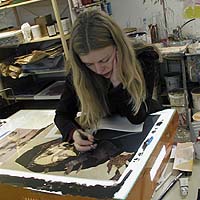
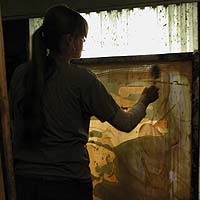
Cecilia Sikström at work.
In the series of pictures below you can follow the process of making one silk-screen print which, in the end will be cut into the two prints shown above. The one to the left represents Marlene Dietrich and the other one “Venus”.
The three pictures below show the results after the first three stages of printing. At a glance this looks easy but demands much preparation, precision and patience as well as a very good collaboration between the artist and the printer. After these three stages there are six more to follow.
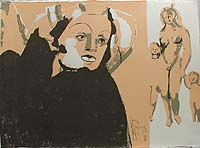
The result after stage one, first colour.
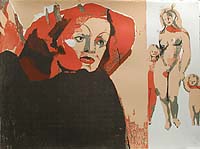
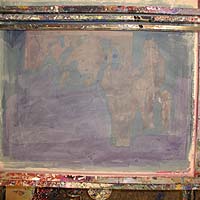
The result after the second stage of printing, second colour.
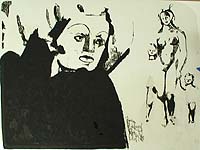
The result after stage three, third colour.
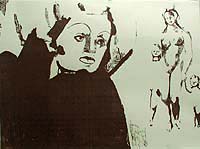
A plastic sheet original will be created for each stage of printing. The artist makes a drawing in Indian ink on a clear, plastic sheet for each separate colour. Below you can view the plastic sheet originals for the first three stages of printing in order to achieve the results above. Please notice that the light brown details in the second print is the result of apricot colour printed on top of the darker brown colour.
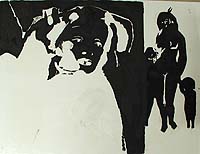
The plastic sheet original for stage one, dark brown color.
Plastic sheet original for stage two, apricot colour.
The plastic sheet original for stage three, red colour.
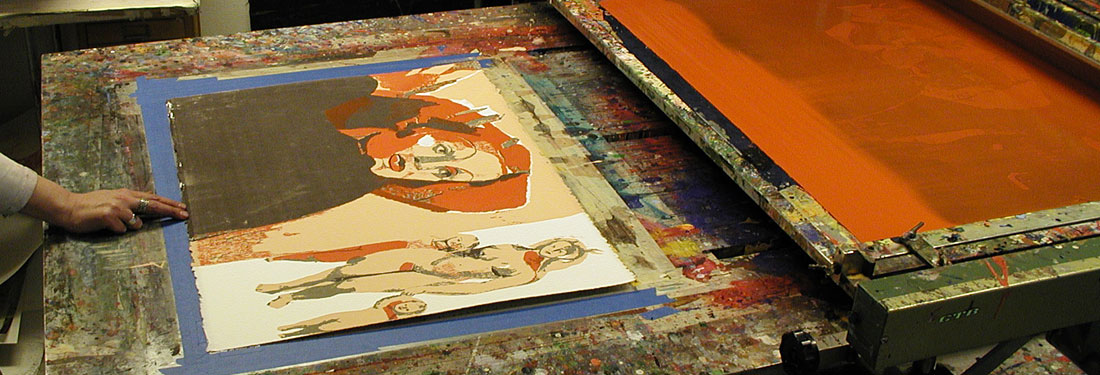
Below we will present the process of making a silk-screen print. We will get into the process during the second stage of printing and when preparations for the third stage are about to begin.
Cecilia Sikström in the process of making the original for stage three, the red colour.
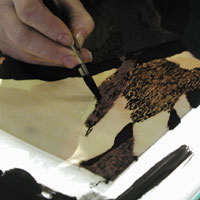
Cecilia is using Indian ink on a plastic sheet.
Close-up – painting with Indian ink on a plastic sheet.
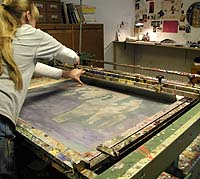
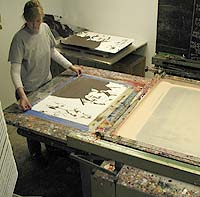
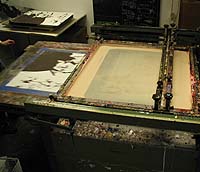
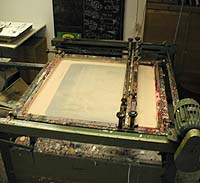
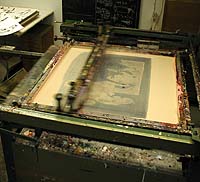
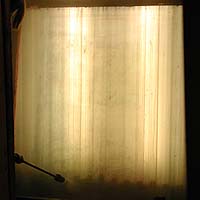
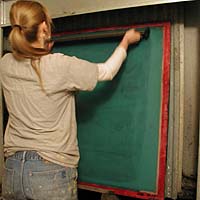
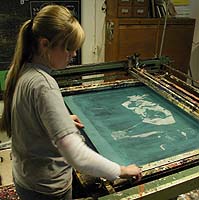
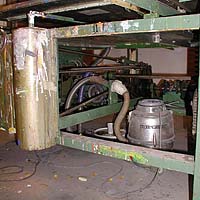
The printing press.
In the printing press there is a nylon fabric stretched and mounted over an aluminium frame.
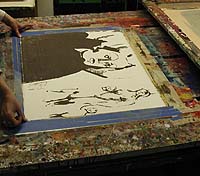
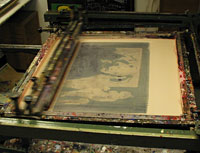
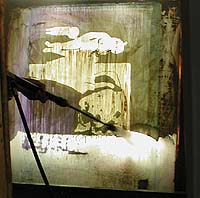
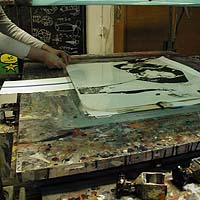
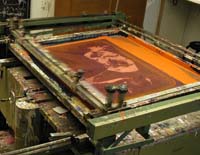
The nylon fabric used in the second stage of printing. The light grey coloured parts of the nylon fabric will let the apricot coloured paint pass through. Take a careful look at the picture and Marlene´s face will appear. Compare the plastic sheet original to this picture.
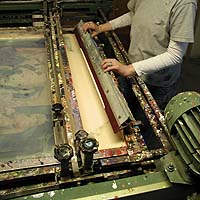
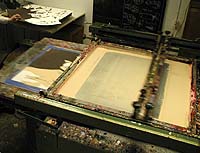
A squeegee is mounted by Catarina Kusoffsky.
After each print this squeegee is to draw back the remaining paint in order to prepare for the following print.
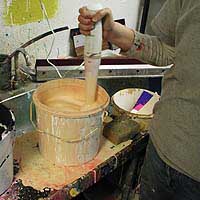
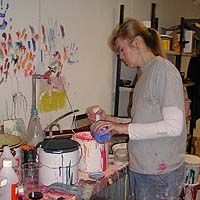
Catarina Kusoffsky mixes a water based paint using her own recipe and she is adding different coloured pigments in order to obtain the right shade according to the artist´s instructions.
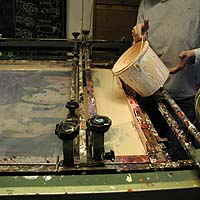
Catarina is pouring the paint for the second stage printing.
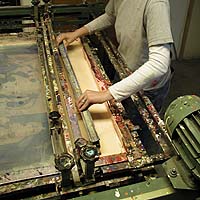
A second squeegee is mounted. Now all the preparations are made for the second stage of printing.
The second squeegee´s task is to press the paint through the nylon fabric´s permeable parts.
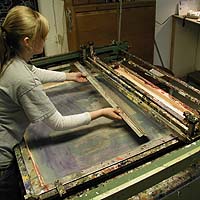
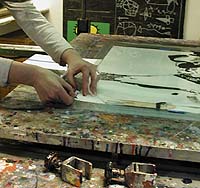
The sheet is placed down.
Catarina carefully adjusts it into the correct position.
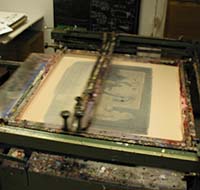
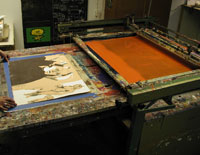
The sheet is fed into the printing press.
The squeegee moves across from right to left and…
… presses the paint through the nylon fabric
The squeegee completes its movement.
The second stage is completed.
The second squeegee moves from left to right bringing the remaining paint back as a thin layer, ready for printing of the next sheet.
The process of printing one print takes about two seconds.
As a professional printer Catarina works efficiently. Another sheet is quickly in place.
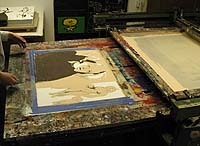
Wet sheets are placed in a rack to air dry.
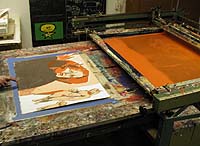
The result after the second stage of printing. The light brown areas are the result when apricot is printed on top of dark brown.
This was a general view of the silk screen printing process. However, there are more steps to describe.
How does the sheet stay in place during the printing process?
How is the artist´s original transferred to the nylon fabric, etc.?
The preparations for each stage of printing are an accurate and time consuming process. The nylon fabric needs to be treated before the artist´s original can be transferred.
The artist´s third stage original.
In order to reuse the nylon fabric it has to be cleaned. Catarina applies a solvent to remove the image from the second stage of printing.
After the solvent has been applied, the old photographic emulsion can easily be removed.
When the nylon fabric is cleaned it will be dried.
Catarina is pouring a green coloured light sensitive emulsion into a trough.
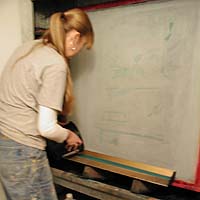
By pulling the trough upwards Catarina is spreading out the coloured emulsion…
… to cover the nylon fabric.
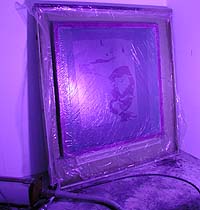
The nylon fabric is mounted in at vertical vacuum board. The artist´s original is placed upon the nylon fabric and then covered by a thin plastic foil.
Low pressure is caused by a vacuum cleaner. The low pressure helps the original to stay in place during the UV-light illumination. The plastic foil has to be stretched out properly in order to remove all creases which would otherwise cause marks that must be removed before the printing goes ahead.
When the light sensitive coloured layer is exposed to UV-light it will react photochemically and harden. The areas that are protected by the artist´s original ink image will not be affected and will remain unhardened. These areas will be easily rinsed off using high pressure washing.
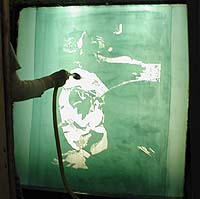
High pressure washing. The artist´s original image will appear.
The nylon fabric is once more illuminated by UV-light in order to secure the hardening process.
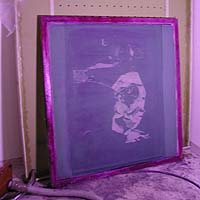
The nylon fabric is now ready to be mounted in the printing press. We are now set for the third stage of printing, with the red colour.
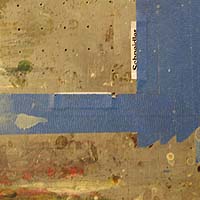
Before the printing process can begin registration marks are set down to show where to place the sheet.
In order to know where to place the registration marks Catarina places the plastic sheet original, which is about to be printed, on top of one of the previous prints. The original together with the previous print are then adjusted referring to the image on the nylon fabric.
When the necessary adjustments have been made Catarina sticks small, plastic strips on to the vacuum board. These are now the registration marks which indicate where to place the sheets before the printing process. Then she takes a proof print.
Registration marks and tiny holes.
Air is sucked through these tiny holes using a suction apparatus made from a vacuum cleaner. This suction keeps the sheet in place.
The suction apparatus made from a vacuum cleaner.
The sheet adheres to the vacuum board and a red paint proof can be printed.
The sheet is fed into the printing press.
The first proof of stage three is accomplished.
The colour shade is scrutinized by the artist. Cecilia Sikström wishes to make a small adjustment to the red colour.
According to the artist´s directives the colour shade is adjusted by addition of more colour pigments.
After adjustment another proof is taken. This time Cecilia Sikström is satisfied and so the printing of the third stage can begin. After this stage there are six more to follow before the finished print.
Catarina Kusoffsky started out with 220 serigraphic sheets. 22 silk screen prints were discarded after being scrutinized by Cecilia. This left an edition of 180 “Marlene” prints plus an ea-edition (epreuve artiste) of 10%.
Having the opportunity to follow Cecilia Sikström and Catarina Kusoffsky at work we realize what good value silk screen prints really are with respect to amount of work that goes into making them.
Cecilia Sikström signing one of her prints.
In conclusion we would like to thank Cecilia Sikström and Catarina Kusoffsky for this opportunity to document the silk screen printing process.
Christina Wallnér och Karin Norén Verksamhetsansvariga för Enjoy Scandinavian Art